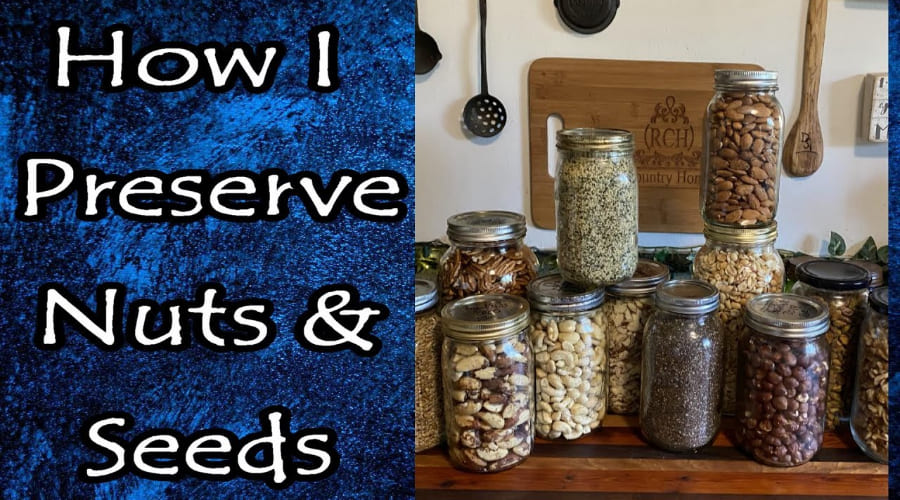
- Basic needs for preserving a walnut; experience with black walnuts
- What are black walnuts, and why are they worth your time?
- Basic needs for preserving a walnut (black)
- The process of shredding, drying, and preserving.
- Is it worth knowing the Basic needs for preserving a walnut?
- Here's what I did with my black walnuts
- Cranberry-Black Walnut Bread
Basic needs for preserving a walnut; experience with black walnuts
A few months ago, a friend asked me if I wanted some black walnuts. His neighbor was growing them on his property. At the time, I didn’t know much about the Basic needs for preserving a walnut, let alone black walnuts. But something told me I should give it a try.
As someone who collects and grows in orchards, I told him that of course I was interested.
It was my first time cracking, drying and preserving black walnuts, and I decided it would be a good opportunity to learn. I didn’t know the process would require so much patience.
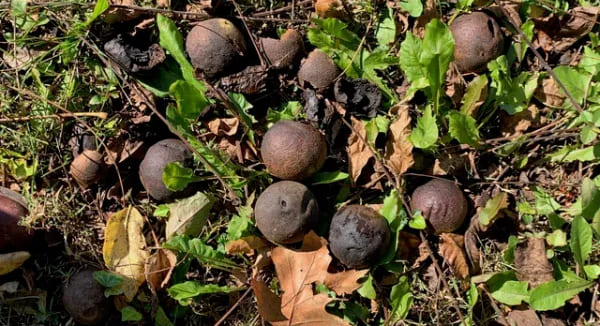
When I brought the basket of black walnuts home, my first thought was, “This is going to take a while!” And boy, did it take.
What are black walnuts, and why are they worth your time?
They are similar to the English walnut, with a milder flavor. Black walnuts contain a high amount of unsaturated fats and protein. The pulp has a distinctive, sweeter, earthier flavor, perfect for fall recipes. Its main native region is the Midwest and east-central United States.
In 1629, someone introduced black walnut to Europe. People grow it in North America as a forest tree for its high-quality wood.
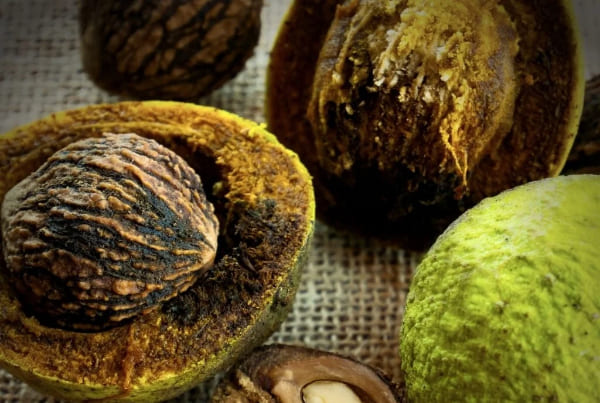
Black walnuts are different from other nuts because they have two outer shells. The first is a soft, green shell that you can cut with a box cutter. The second is a hard, black shell that needs more force, like a hammer, to break.
Basic needs for preserving a walnut (black)
How to prevent them from going rancid

One key factor in keeping black walnuts fresh is knowing that their healthy oils can go bad. If not stored right, they can become rancid. The polyunsaturated fats they contain can easily oxidize if exposed to high temperatures, humidity or air.
How you preserve them will make the difference between a delicacy and a rancid mess.
The process of shredding, drying, and preserving.
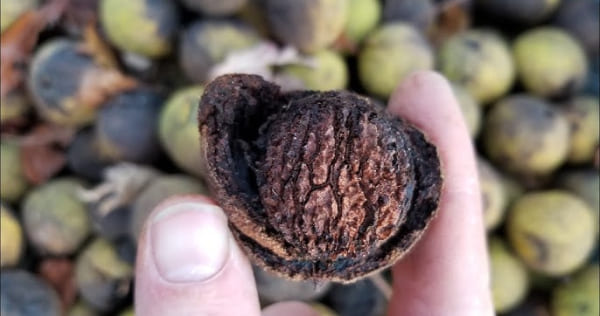
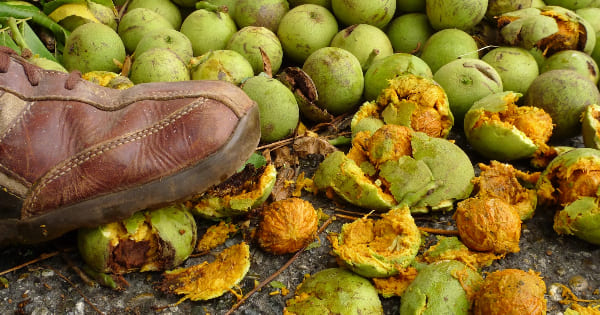
Step One – Shelling
It’s time to remove the outer green peel. Be sure to wear a good pair of gloves. Otherwise, you will stain your hands black, and that will be very difficult to remove.
I used two pairs of gloves. I found that a razor works best. Just make a mark around the outer shell and rip it off. I put on some music, brewed a cup of tea and shelled.
Step Two – Proper Drying
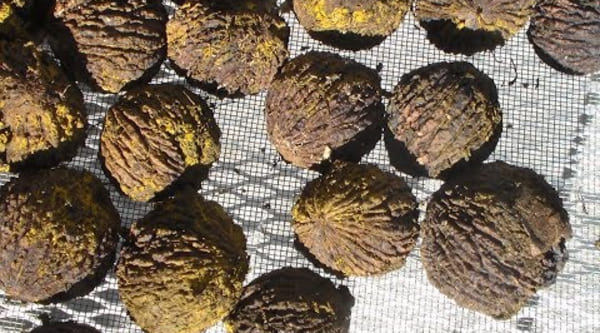
Once the outer shells have been removed, it is time to dry the nuts. This step is crucial for those who want to cover all the Basic needs for preserving a walnut. Place them on a tray or in an onion bag and let them dry for at least two weeks in a dry place. I left them in the basement near the heater, but you can also air dry them if you live in a dry climate.
You need to let the pulp dry with the shell, which gives a much better flavor and helps preserve the black walnuts.
Tips: The basement or refrigerator is ideal for maintaining freshness. You can even freeze them for up to a year.
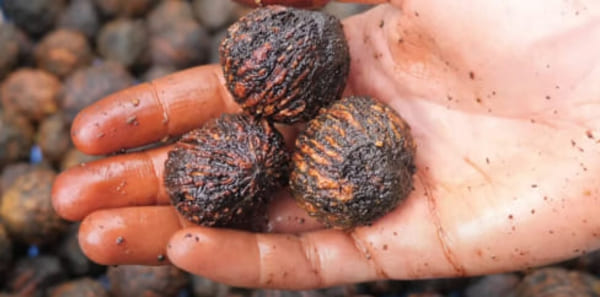
Step Three – Crushing with homemade tools
It’s time to crush, you can use snap tongs or a hammer to break the shell. Black walnuts have a much harder shell than regular walnuts, so a nutcracker won’t work.

I used a hammer to crack open the shell and scissors to cut off the rest and remove the pulp. This can take some time. I did it in a few weeks.
One afternoon I sat down with my partner to do it together while we listened to music. We ended up with black hands, terrible nails… but happy!
Step four: Storage and preservation
Here you can choose how to store your black walnuts. You can freeze them with a Food Saver or store them in an airtight Ball jar for use in cooking or baking.
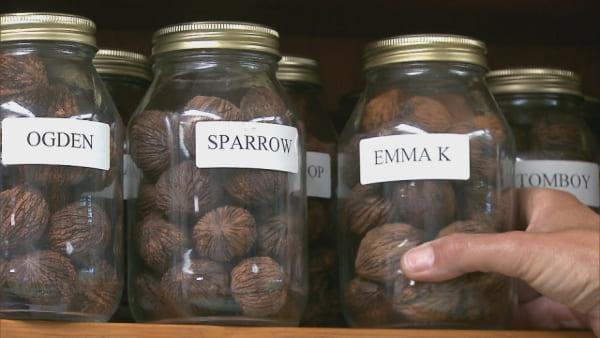
Remember: nuts absorb odors, so avoid storing them near onions or other strong foods. An airtight container is the best way to maintain their flavor and freshness.
A foolproof trick? The refrigerator.
They stay fresh there for up to three months. Want to keep them longer? Take them to the freezer: they will stay fresh for up to a year.
Is it worth knowing the Basic needs for preserving a walnut?
Properly preserving a nut not only preserves its flavor, but also all of its health benefits. Did you know that improper storage can destroy much of its antioxidants and healthy oils?
How many times have you thrown away nuts because you didn’t know how to preserve them properly? Learning these things connects us more to what we eat and to our roots. Harvesting and preserving black walnuts was one of the best experiences of my year. Honestly, I can’t wait for the next harvest.
Is it worth all these Basic Needs for Preserving a Walnut?
Yes, absolutely! Collecting, preparing and preserving black walnuts is a long process, yes, but also a deeply rewarding one. I now see that keeping a walnut fresh requires more than just techniques. It needs care, patience, and a love for nature.
Would you be up for preserving your own black walnuts? Give it a shot! Check out my other post about how I got the wild blueberries for this recipe. Let me know if you have a cooking story about nuts you picked yourself.
Here’s what I did with my black walnuts
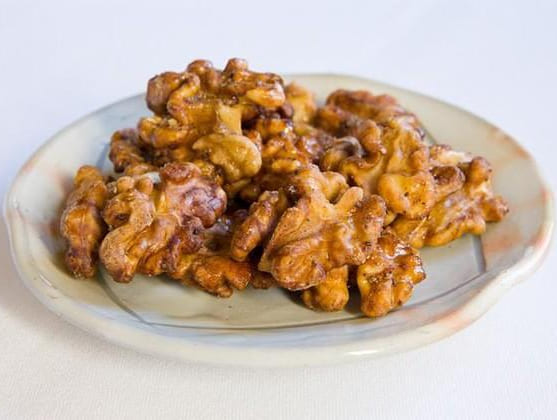
Black walnuts with maple syrup.
Total time: 3 minutes
Ingredients:
- 2 cups black walnuts
- 1/4 cup maple syrup
- Pinch of salt
Instructions:
Place the walnuts in a skillet over medium heat. Add maple syrup and salt and cook for 2 minutes until glazed. Remove and let cool.
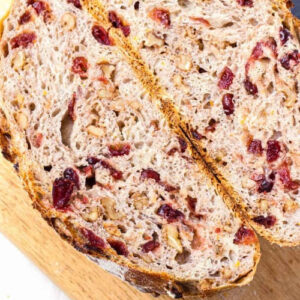
Cranberry-Black Walnut Bread
Equipment
- 1 9 x 5-inch loaf pan
- 2 Mixing bowls (small and large)
- 1 Rubber spatula
- 2 Measuring cups and spoons
- 1 Wire rack
- 1 Nonstick cooking spray
- 1 Toothpick (for testing doneness)
Ingredients
- 1/3 cup Cup orange juice
- 2 tbsp Orange zest
- 2/3 cup Buttermilk
- 6 tbsp Unsalted butter, melted
- 1 unit Large egg
- 2 Cup All-purpose flour
- 1 cup Sugar
- 1 tbsp Salt
- 1 tbsp Cinnamon
- 1 tbsp Baking powder
- 1/4 tbsp Baking soda
- 1 cup Fresh or frozen cranberries, chopped
- 1/2 cup Black walnuts
Instructions
- Place the oven rack in the middle and preheat the oven to 375 degrees. Lightly coat the bottom of a 9 x 5-inch loaf pan with nonstick cooking spray.
- Combine orange juice, orange zest, buttermilk, butter and egg in a small bowl. Mix well and set aside.
- In a large bowl, combine flour, sugar, salt, cinnamon, baking powder and baking soda. Using a rubber spatula, gently mix the wet ingredients into the dry ingredients until well integrated. Gently fold in the cranberries and walnuts.
- Pour the batter into the greased pan, spreading it evenly with a rubber spatula. Bake for 20 minutes and then lower the temperature to 175 °C. Bake for 45 minutes more, or until the bread is golden brown and a toothpick inserted in the center comes out clean.
- Let the bread cool in the pan for about 10 minutes. Then, move it to a wire rack. Let it cool for at least an hour before serving.
Video
‘After preserving nuts, you could try gathering wild kelites as a nutritious alternative.’